

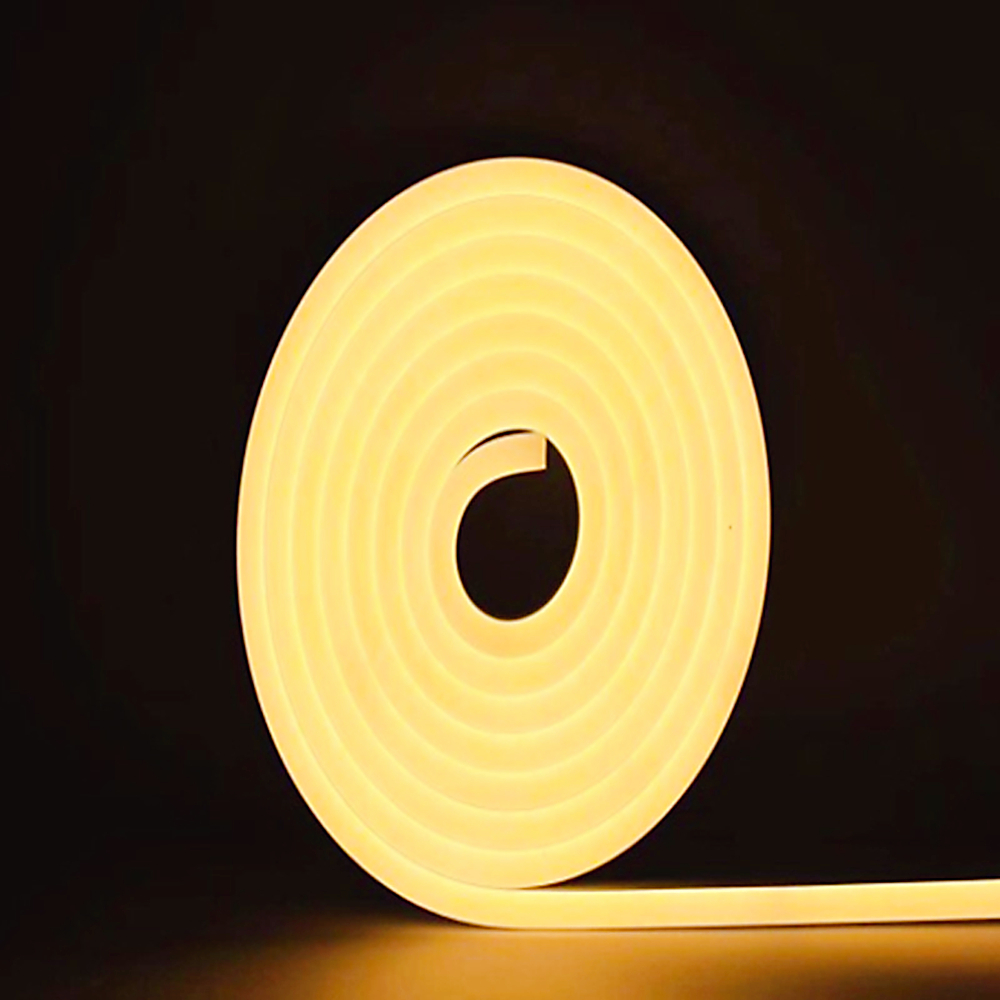


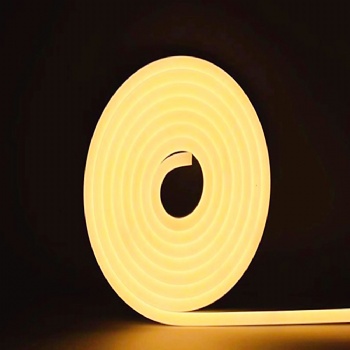

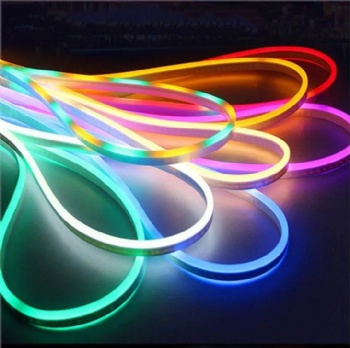
China Factory Step LED Strip Flexible LED Neon Strip Light for Home Party Decor
easily create and install both LED and flexible neon strips in your home or office
LED strips and flexible neon strips have become very popular in the lighting industry due to their versatility, energy efficiency, and convenience. They are perfect for a range of applications, including lighting up staircases, bedrooms, signage or even as the main source of illumination in a room. In this article, we’ll show you how to make a LED strip and flexible neon strip so that you can add them to your home, office, or any other space that needs a touch of style.
How to Make a LED Strip
Materials:
- LED strip lights
- Power adapter
- Soldering iron and solder
- Heat shrink tubing
- Wire strippers
- Electrical tape
Step 1: Cut the LED Strip to Length
The first step in making a LED strip is to cut it to the desired length. You can do this by measuring the area you want to light up and then cutting the strip accordingly. Be sure to cut at the designated cut lines on the strip to ensure it works correctly.
Step 2: Attach the Power Adapter to the LED Strip
After cutting the LED strip to the required length, attach the power adapter to one end of the strip. Be sure to match the "+" and "-" polarity of the strip to the adapter's input.
Step 3: Solder the Wire
Using a soldering iron, solder the wire to each end of the LED strip. Be sure to strip the wire first and then apply a small amount of solder to each end.
Step 4: Insulate the Connection
Once the wires are soldered to the LED strip, wrap each joint with a piece of heat shrink tubing. Use a heat gun to shrink the tubing and seal the joints. This creates a watertight seal that protects the connection.
Step 5: Test the Strip
Before installing the LED strip, test it to ensure it works correctly. Plug it in and observe the lights for any irregularities or dimly lit areas. If everything seems good, you can proceed with the installation.
Step 6: Install the LED Strip
Finally, install the LED strip in the desired location. You can use brackets or adhesive tape to attach the strip to the surface. Be sure to mount it with the correct polarity orientation.
How to Make a Flexible Neon Strip
Materials:
- Flexible neon strip
- Power adapter
- Soldering iron and solder
- Heat shrink tubing
- Wire strippers
- Electrical tape

Step 1: Cut the Flexible Neon Strip to Length
The first step in making a flexible neon strip is to cut it to the desired length. Use a sharp pair of scissors to cut the strip along the designated cut lines.
Step 2: Attach the Power Adapter to the Flexible Neon Strip
After cutting the flexible neon strip to the required length, attach the power adapter to one end of the strip. Be sure to match the "+" and "-" polarity of the strip to the adapter's input.
Step 3: Solder the Wire
Using a soldering iron, solder the wire to each end of the flexible neon strip. Be sure to strip the wire first and then apply a small amount of solder to each end.
Step 4: Insulate the Connection
Once the wires are soldered to the flexible neon strip, wrap each joint with a piece of heat shrink tubing. Use a heat gun to shrink the tubing and seal the joints. This creates a watertight seal that protects the connection.
Step 5: Test the Flexible Neon Strip
Before installing the flexible neon strip, test it to ensure it works correctly. Plug it in and observe the lights for any irregularities or dimly lit areas. If everything seems good, you can proceed with the installation.
Step 6: Install the Flexible Neon Strip
Finally, install the flexible neon strip in the desired location. You can use brackets or adhesive tape to attach the strip to the surface. Be sure to mount it with the correct polarity orientation.
In conclusion, these twolighting solutions are perfect for adding some style and modernity to any space. With a little bit of technical know-how, you can easily create and install both LED and flexible neon strips in your home or office, creating a space that's stylish, modern, and energy-efficient.


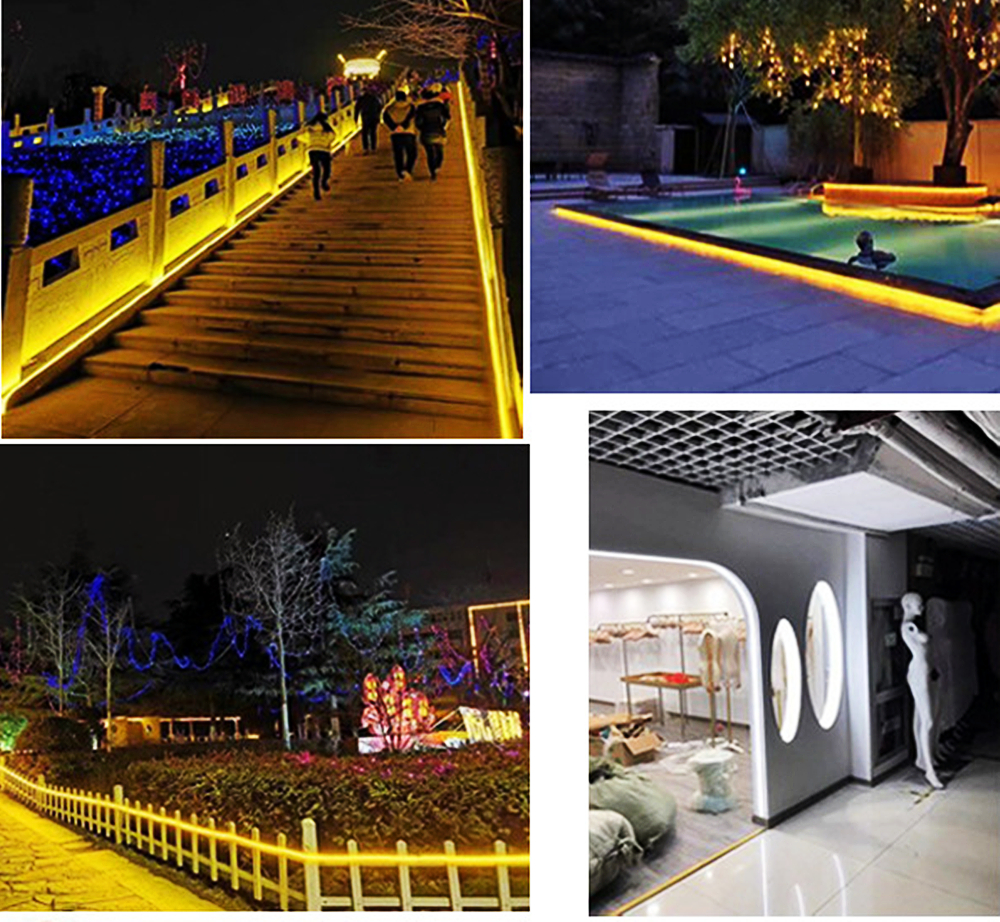
Application:
Neon Sign LED Strips can makes color to your life! We produce it with durable, waterproof silicone materials which makes it widely used for both indoor or outdoor.
Neon Sign LED Strips is perfect for walkways/ Outdoor / Indoor / Corridor / KTV / Ceiling / Hotel / Advertising/ Chaneel letter
Feature:
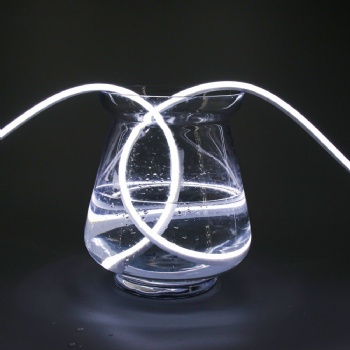
The neon sign LED strips can be cut, easily bent, and marked accurately.
neon sign LED strips is very easy to shape a variety of curves, letters, signs, patterns, patterns, etc., safer, easier and faster
neon sign LED strips are shatproof and absolutely safe for use indoors and outdoors.
Low voltage, low energy consumption for use
The brightness is uniform
neon sign LED strips provides roll cartons, greatly reducing size and weight, thereby increasing ease of shipping.
Installation:
It's easy to install the Neon Sign LED Strips , it is cliped into the aluminum profile, or bendable channel and connect to the power adapter.
Welcome to consult DELIKAY LED Strip Flexible LED Neon Strip !
OEM customized service &Turn-key solution available!
LiveChatX


 Send Email